Scroll down the page for detailed instructions
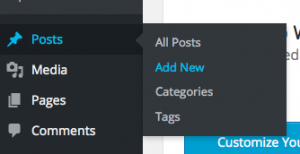
- Go to Posts => Add New
- Enter title of the Client
- Add client photo as Featured Image

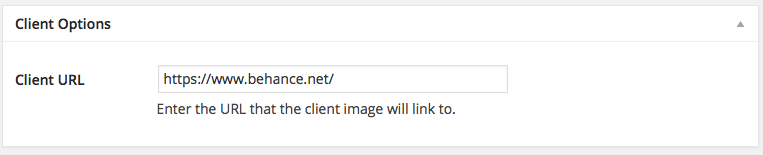
- Scroll to Client Options and populate the URL link of the client
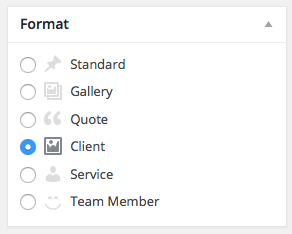
- Under Format, select the Client option
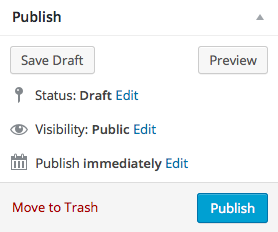
- Click Publish
- Repeat steps to add additional Clients
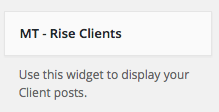
Add MT – Rise Clients Widget
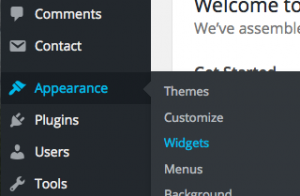
- Go to Appearance => Widgets
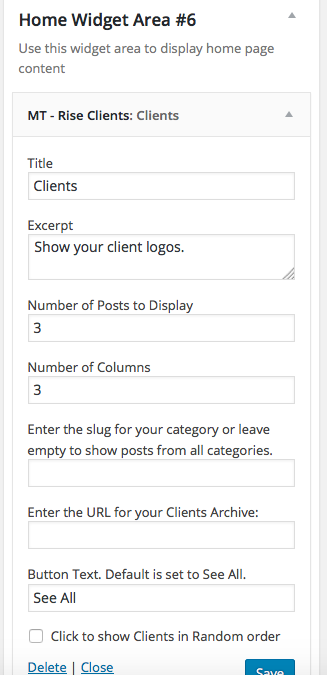
- Drag or assign the MT – Rise Clients widget to the appropriate home page widget area
- Populate the appropriate detail fields with Title, Excerpt, number to display, number of columns, and button details.
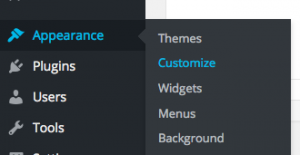
- Go to Appearance => Customize
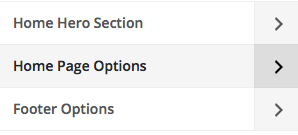
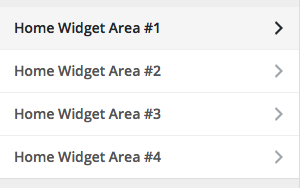
- Go to Home Page Options => Home Widget Area
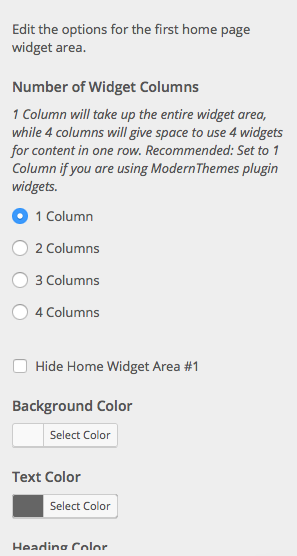
- Customize the settings for the widget area
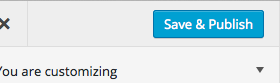
- Press Save & Publish
Client Archive Page
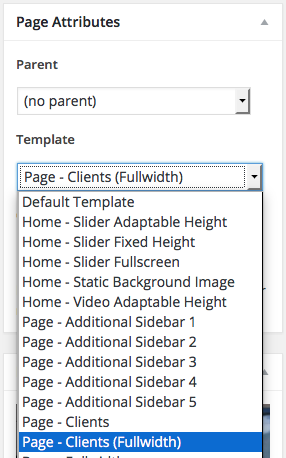
- Go to Pages => Add New
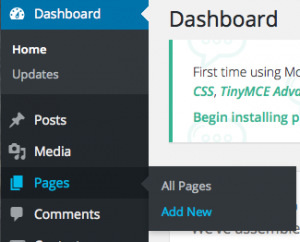
- Create a page and set it to the Page – Clients or Page – Clients (Fullwidth) template
- Create page content if desired
- Press Publish
Client Options
- Go to Appearance => Customize
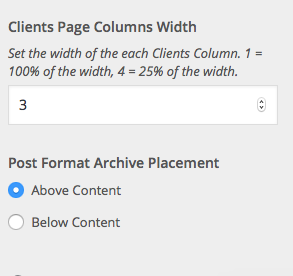
- Go to Rise Post Format Options => Post Format Archive Options


- Set the columns of the Project page and if the content will be Above or Below
- Press Save & Publish