
Scroll down the page for detailed instructions
Note: Do not bold shortcodes or menu content will also bold. Shortcodes below are bold to stand out.
Installing the Plugin
- Click Plugins
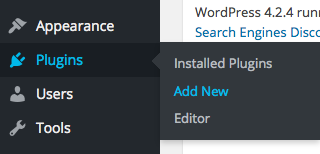
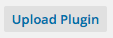
- Click Upload Plugin
- Click Browse and select the mt_menu.zip file

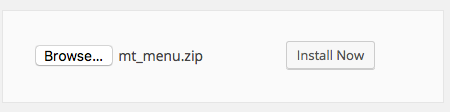
- Click Install Now

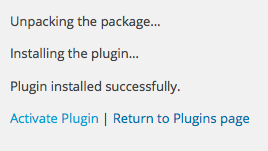
- Click Activate Plugin
Creating Plugin Content
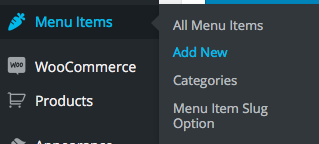
- Go to Menu Items -> Add New
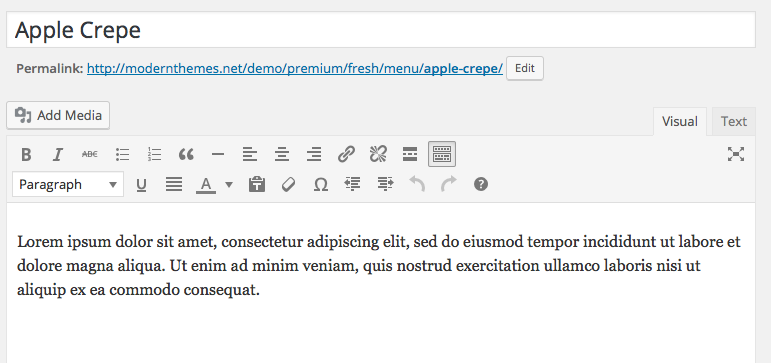
- Set Menu Item name as Title
- Create menu item description in the visual editor area
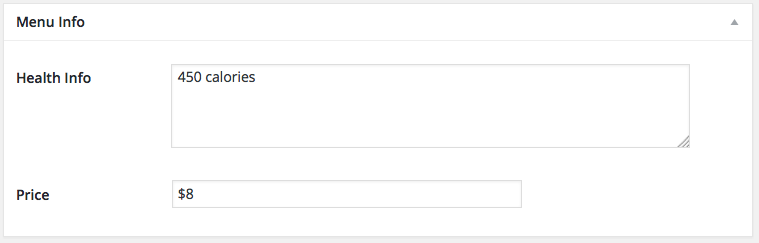
- In the Menu Info area, create any health/menu item information and price of the item
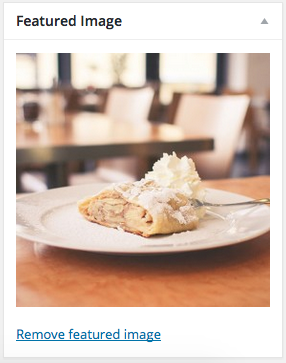
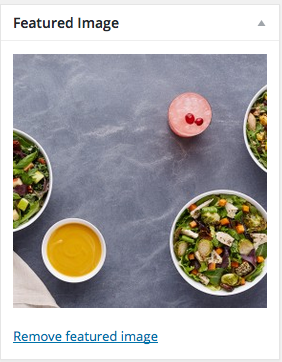
- Set Menu image as Featured Image
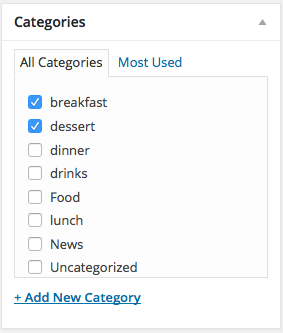
- If you have a category for the menu item, set the category name
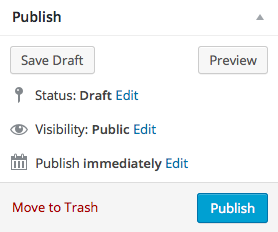
- Press Publish
- Repeat steps as necessary for additional content
Setting Up Fresh Menu Page
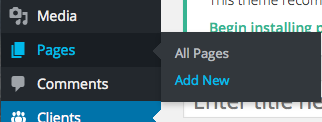
- Click on Pages -> Add New
- Set the title of the Menu page
- Paste this shortcode in the page editor area: [menu]

- This will display all items as a whole
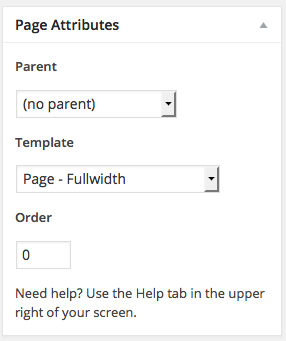
- Set Page Template to desired look
- Set Featured Image to header image
- Press Publish
Shortcode Options
- Using the [menu] shortcode as a base, you can set different options for title of menu section, category of menu items, number of columns, and style of menu. Leaving all options empty will display all Menu items, all categories, in the default number of columns.
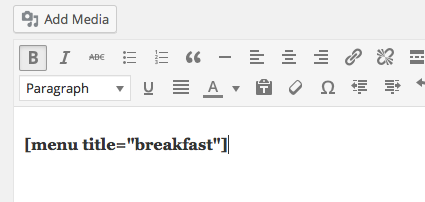
- Set the title of the menu section by adding title=” “ to the shortcode. For example, if you only want to display breakfast items, then the shortcode would be: [menu title=”breakfast”]
- Set the category displayed by adding category=” “ to the shortcode. For example, if the category was breakfast, then the shortcode would be: [menu category=”breakfast”]

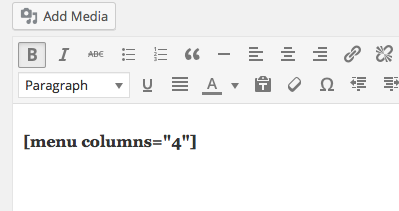
- Set the number of columns by adding columns=” “ to the shortcode. For example, if you wanted to display content in 4 columns, then the shortcode would be: [menu columns=”4″]
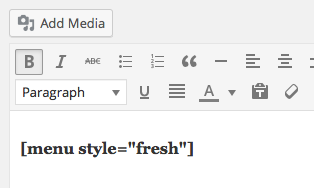
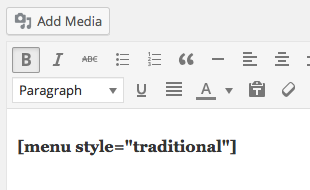
- The Menu plugin comes with two different style: Fresh and Traditional. You can change the style of the menu by simply adding style=” “ to the shortcode. For example, if you wanted to display the Fresh style, then the shortcode would be: [menu style=”fresh”] or if you wanted to display the Traditional style, then the shortcode would be: [menu style=”traditional”]
- Once you have created all your menu items and the different categories for your menu, you can use different variations of shortcode options at the same time. For example, you can set all options to create a menu page like our demo pages have set up:
 Traditional Menu Demo Page:
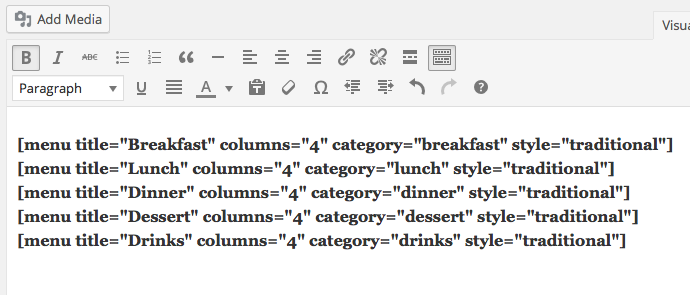
- Press Publish or Update