
Scroll down the page for detailed instructions
Installing the Plugin
- Click Plugins
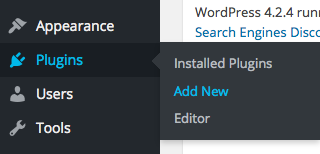
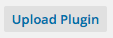
- Click Upload Plugin
- Click Browse and select the mt_projects.zip file

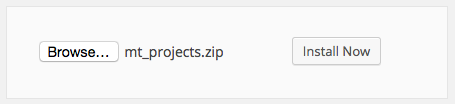
- Click Install Now

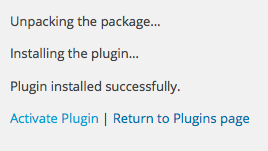
- Click Activate Plugin
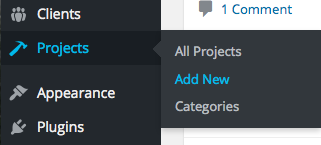
Creating Plugin Content
- Go to Projects -> Add New
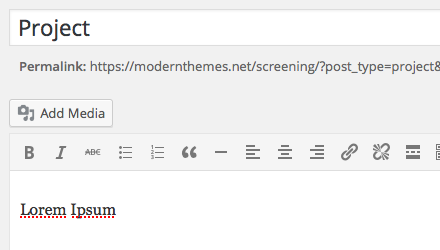
- Set Project name as Title
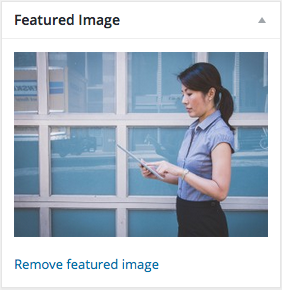
- Set Featured Image to Project image
- Create any text/content
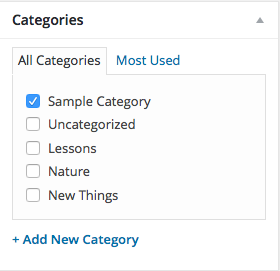
- If you have a category, set the category name
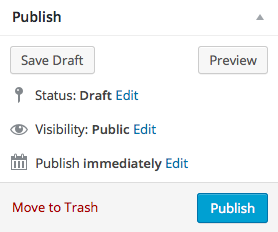
- Press Publish
- Repeat steps as necessary for additional content
Setting Up Projects Archive Page
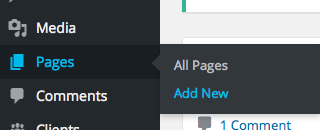
- Click on Pages -> Add New
- Set the title of the Projects archive page
- Paste this shortcode in the page editor area: [projects]
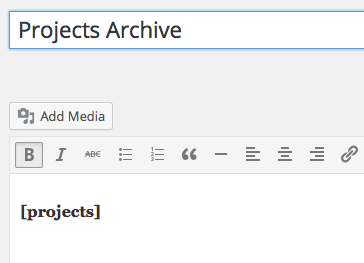
- This will display all Projects, all categories, in the default number of columns on the page
- Press Publish
Shortcode Options
- Using the [projects] shortcode as a base, you can set different options for number of Projects displayed, category, and number of columns. Leaving all options empty will display all Projects, all categories, in the default number of columns.
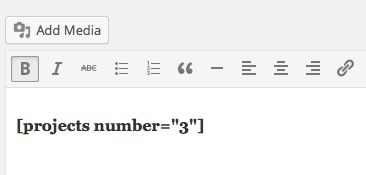
- Set the number of items displayed by adding number=” “ to the shortcode. For example, if you only want to display 3 Projects, then the shortcode would be: [projects number=”3″]
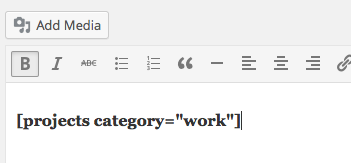
- Set the category displayed by adding category=” “ to the shortcode. For example, if the category was cars, then the shortcode would be: [projects category=”work”]
- Set the number of columns by adding columns=” “ to the shortcode. For example, if you wanted to display content in 4 columns, then the shortcode would be: [projects columns=”4″]

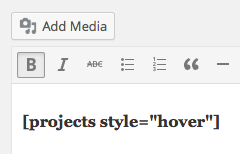
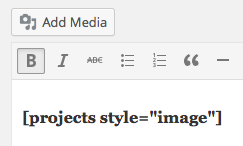
- You can select different styles for the output of the Projects. You can select from Hover, Image (Venture Demo).
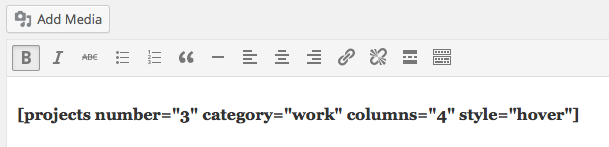
- You can also use different variations of shortcode options at the same time. For example, you can set all three options: [projects number=”3″ category=”work” columns=”4″ style=”hover”], or just use two options: [projects number=”3″ columns=”3″]
- Press Publish or Update
Setting up a Projects Widget
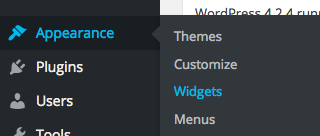
- Click on Appearance -> Widgets
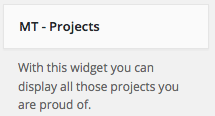
- Select the MT – Projects widget
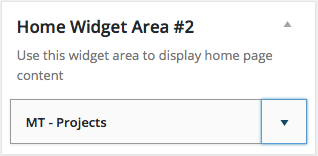
- Drag or assign to the desired widget area
- Set the widget options
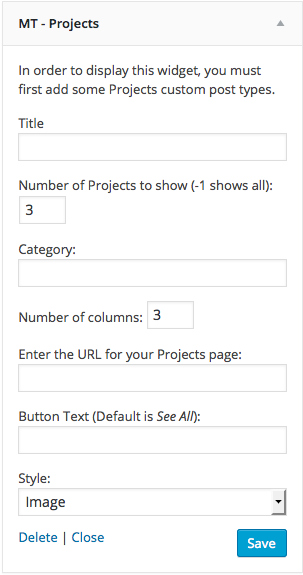
Projects Widget Options
- Set the Widget title ( optional )
- Set the number of Projects to display ( -1 displays all )
- Number of columns ( 1 – 4 is suggested, default is 3 )
- If you created a Projects page with the shortcode, then copy and paste the URL in the Archive Page URL field
- Set the button page link text
- Set the Style of the Projects output from the drop-down list.
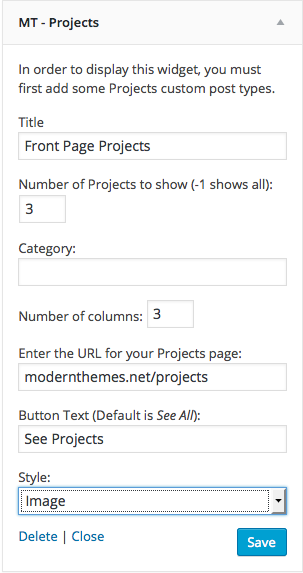
- Press Save